Leave the Collator Candidate Pool
If you intend to stop collating or stop being a collator candidate, you have to go through three stages until your staked tokens are unlocked and your collator state is purged from the chain.
Unfortunately, exiting is not a simple process for security reasons. Since a picture paints a thousand words, you can find a visualization of this process in the following lifecycle section.
Initiate the Exit Request
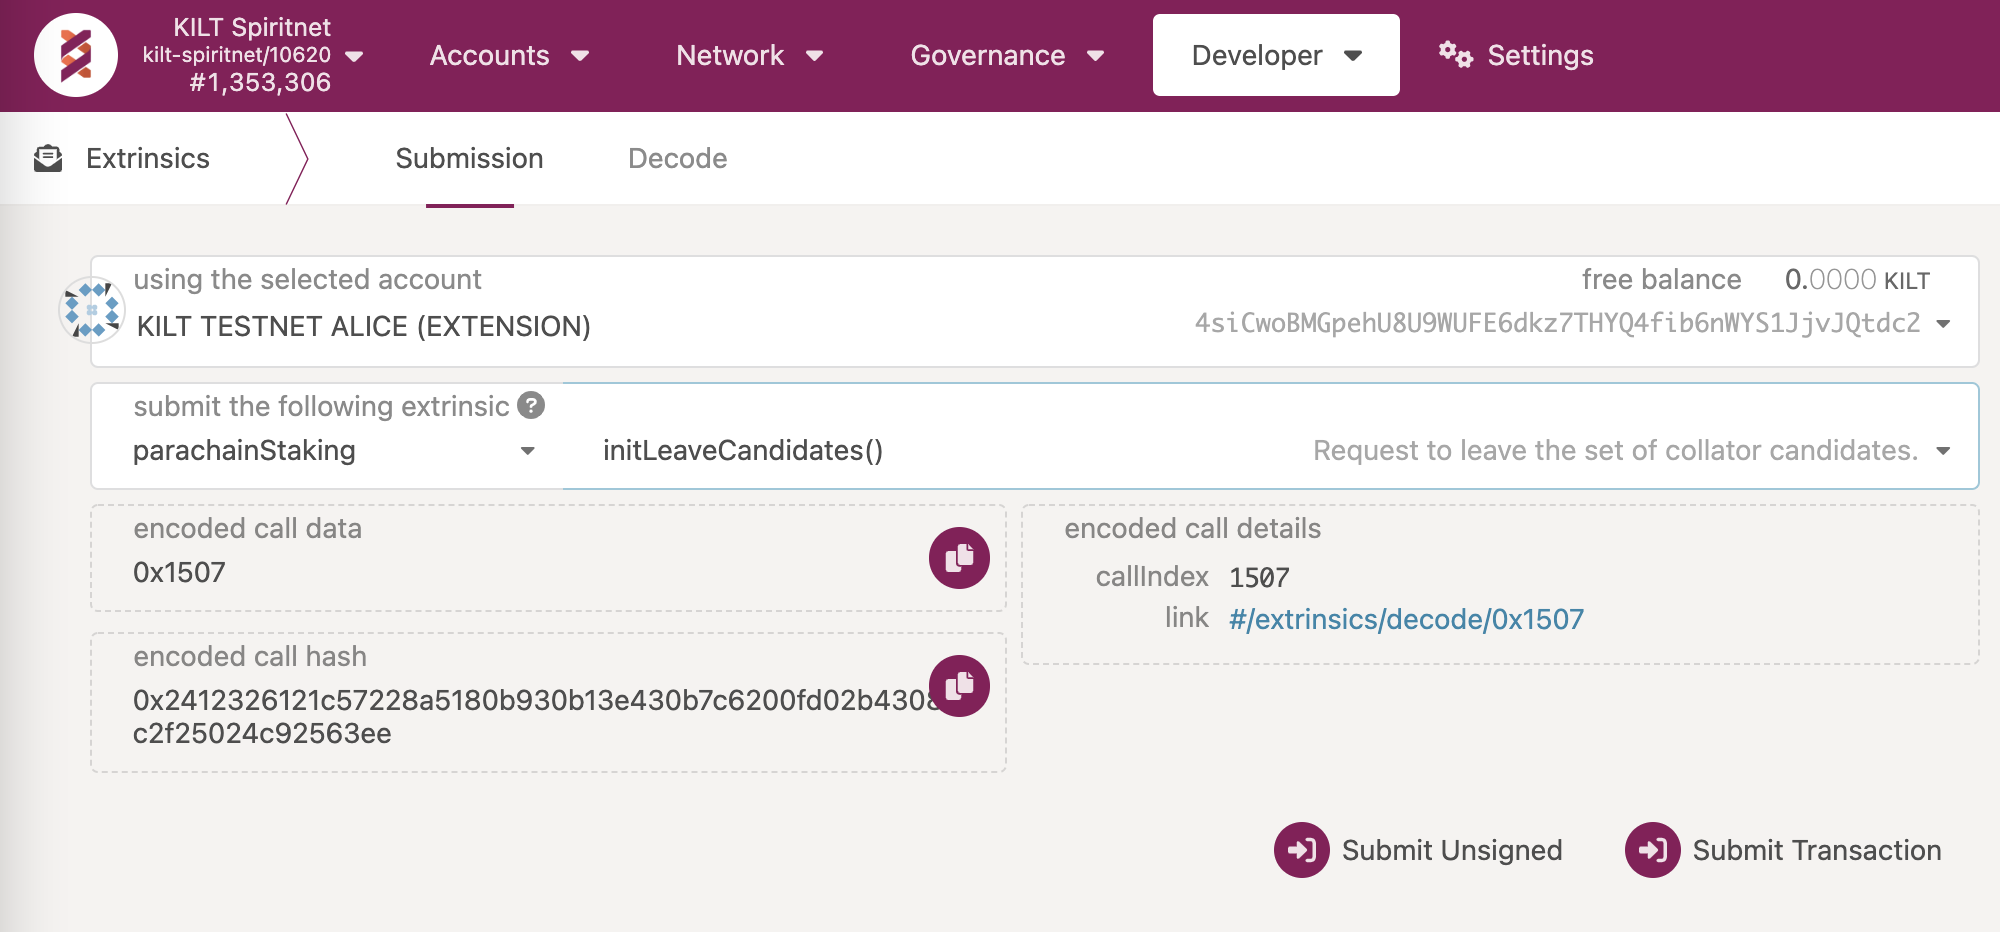
First, signal your intent by calling parachainStaking -> initLeaveCandidates.
You will then be removed from the CandidatePool and your state switches from Active to Leaving(leaveRound), where leaveRound reflects the number of sessions that have to elapse before you can definitely leave the set of collators.
You still need to stay online and build blocks for the current and next sessions.
Since each session lasts 2 hours, the maximum amount of time you will need to wait is 4 hours.
Of course, you will continue to receive rewards for the blocks your collating node will author.
A leaving candidate cannot be selected as an active collator for the sessions from this point on.
Moreover, you cannot receive new delegations and existing delegations cannot be adjusted.
However, delegations can still be revoked.
You can either execute this transaction in Polkadot JS Apps or the KILT Stakeboard, which serves as an in-house developed Frontend for all KILT staking activity. Below, we outline the steps for Polkadot JS Apps.
In the Polkadot JS Apps (wss://spiritnet.kilt.io, or wss://peregrine.kilt.io) go to Developer -> Extrinsics -> Submission.

- Select your collator KILT address as the extrinsic submitter (the using the selected account field)
- Select the appropriate extrinsic:
parachainStaking -> initLeaveCandidates - Sign and submit the extrinsic (the Submit Transaction button)
Execute the Exit Request
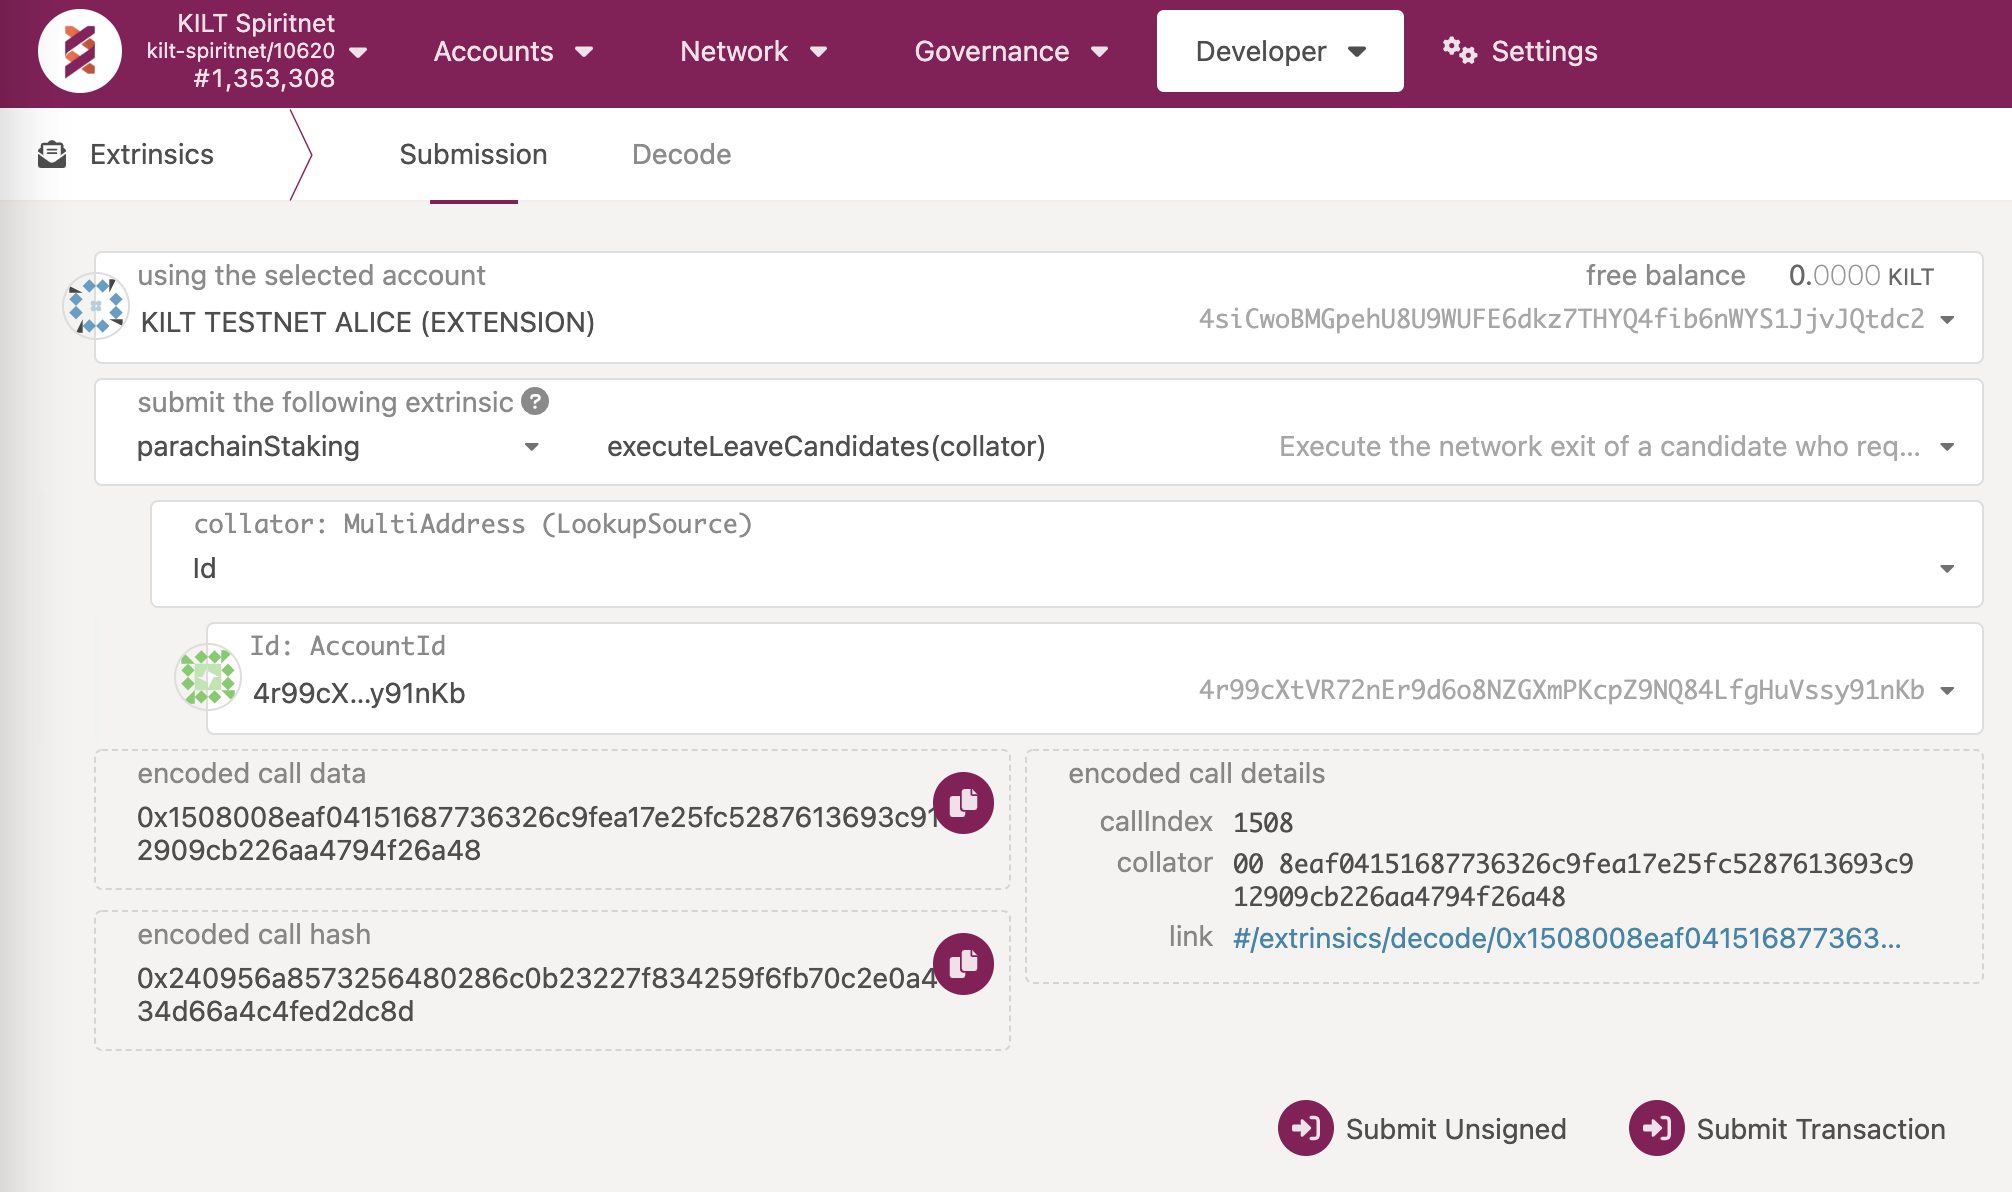
Once the current and next sessions have elapsed (which can take at most 4 hours), you can call executeLeaveCandidate to remove all of your Candidate associated storage.
You should be certain that you wish to leave as there is no turning back afterwards.
If you wish to become a candidate at a later stage, you will have to apply again and will not have your former delegations.

- Select one of your KILT addresses with sufficient funds to pay for the transaction fee (~5 milli KILT) as the extrinsic submitter (the using the selected account field) NOTE: Of course, you can chose your collator account.
- Select the appropriate extrinsic:
parachainStaking -> executeLeaveCandidates - Select the
Idoption (the MultiAddress (LookupSource) field) - Select the collator account (the Id: AccountId field)
- Sign and submit the extrinsic (the Submit Transaction button)
Cancel the Exit Request
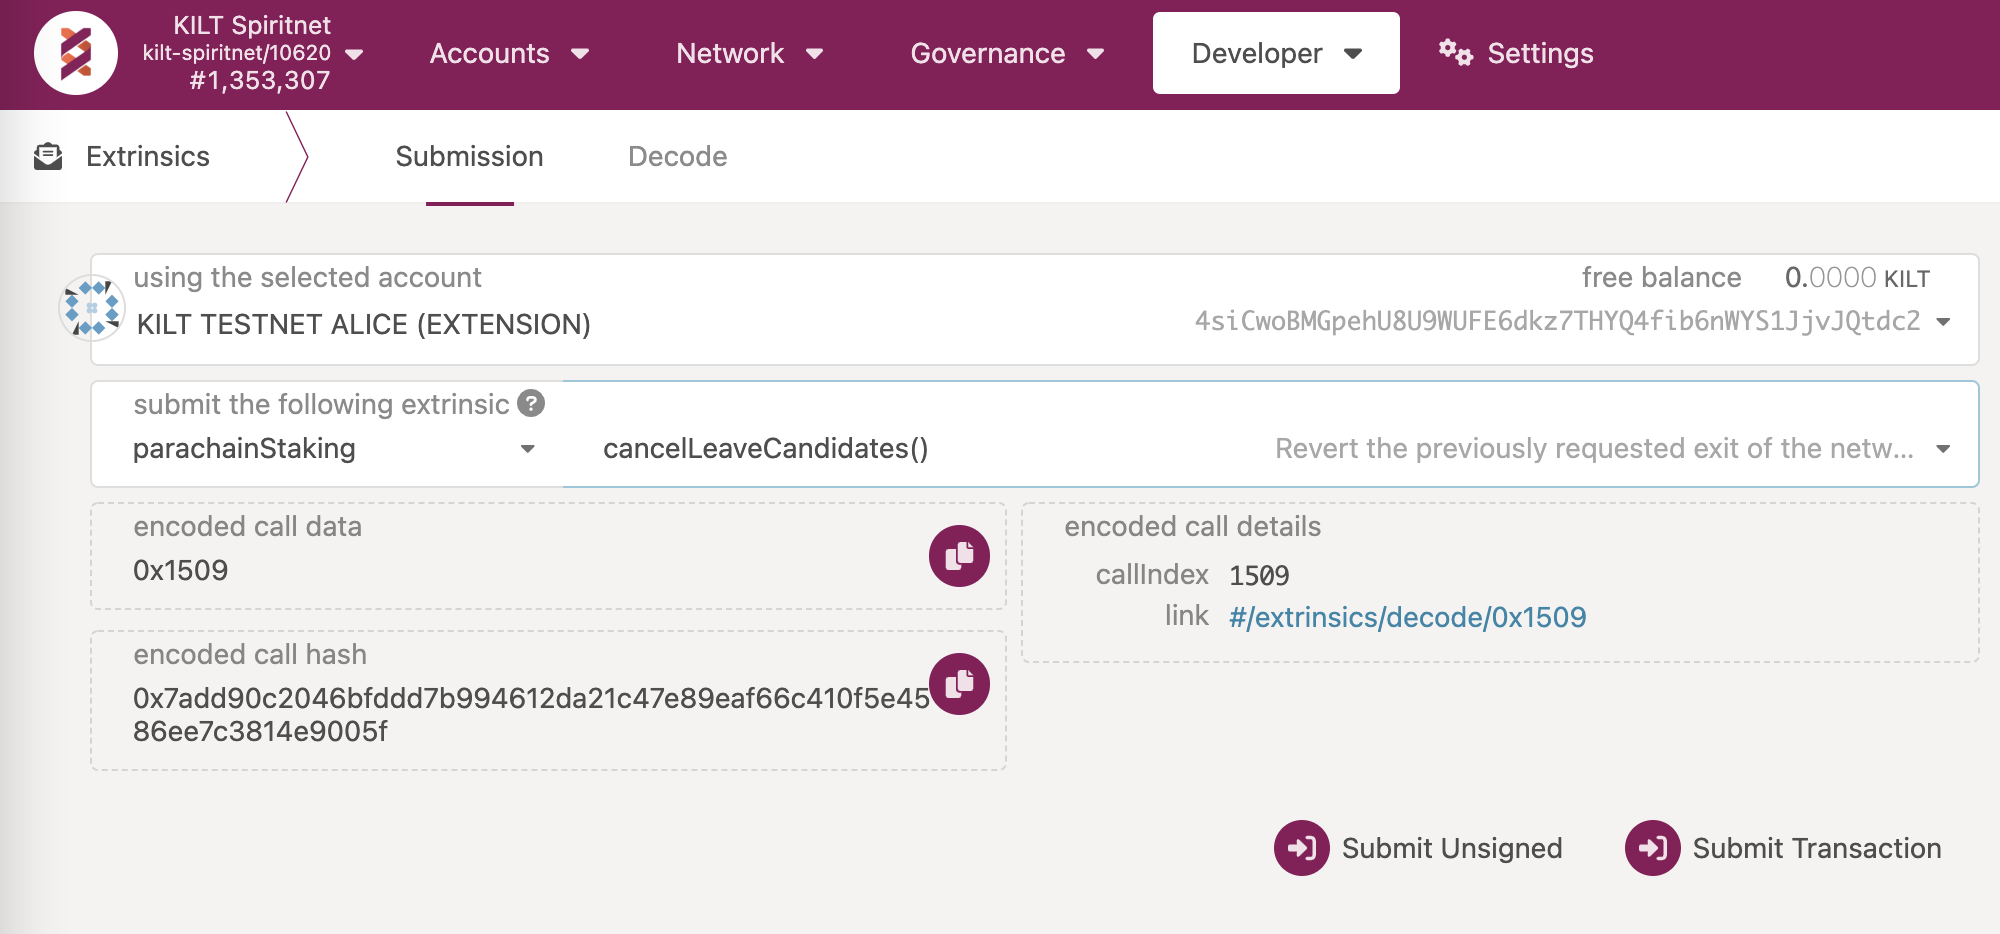
You still have not completed your exit request, you can still cancel it by calling cancelLeaveCandidates, which will succeed if the CandidatePool is not already full.
Upon interruption of your exit procedure, your state switches back to Active and you maintain all the previous delegations, since everything has remained untouched in the meantime.
Moreover, if you are one of the top staked candidates, you will automatically become a collator again at the end of the second round from this point, which can take as long as 4 hours in the worst case.

- Select your collator KILT address as the extrinsic submitter (the using the selected account field)
- Select the appropriate extrinsic:
parachainStaking -> cancelLeaveCandidates - Sign and submit the extrinsic (the Submit Transaction button)
Unlock Your Stake
If you have executed the exit request you cannot immediately unlock your previously staked tokens.
There is a delay of 7 days in block time before you can free them by calling unlockUnstaked.
See here for a step-by-step tutorial.